Many of you may have heard of hypertufa, a mixture comprised usually of perlite, sand, peat moss and portland cement. Used first by alpine gardeners to emulate the natural tufa rock often associated with alpine plants (plants that grow above the treeline), the hypertufa mixture is used to free form artificial rock or in forms to produce gardening containers. It has a very beautiful and natural look and the peat moss and pearlite make them light weight. It has, in my opinion, three draw backs. It’s mucky to work with and it needs to be cured (dried) and leached out in water or rain for several weeks before use. In cold climates it also has a tendency to crack or deteriorate over the winter if left out doors.
Enter papercrete! Papercrete is a mixture of paper pulp, perlite or vermiculite, and portland cement. Fillers such as sand are optional to produce different effects and textures. The paper pulp is produced by shredding any used paper you have, soaking it for a day or two in water and then pulping it with a paint mixer attachment on a drill. Lee Coates, papercreter extraordinaire, says various papers produce unique results but his preference is good old newspaper as it is readily available in large quantities, it has a long fiber for strength and is easy to shred and pulp .
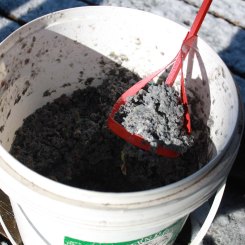
Newspaper and water pulped into an ‘oatmeal’ consistency.
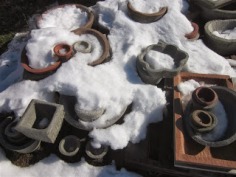
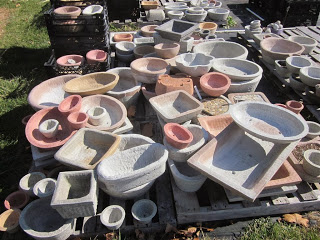
How does it hold up? From Lee Coates’ Papercrete Blog : The most frequently asked question is, “How do they hold up in the water?” After shoppers find that paper is one of the ingredients in the recipe of our product I find that it is a fair question. The paper is just a fiber source that is encased by portland cement… I cannot say how long the product will hold up but we have had some of the pots in ground contact for several years without any deterioration. What we build each year once dry gets placed outside on pallets to suffer whatever Mother Nature throws at them. Containers built in the Fall are built for sale the following year so they are subjected to rain, snow, sleet, hail, and ice throughout the Winter. How do they hold up? About the same as the sidewalk in front of the house!
 The basic recipe for papercrete is approximately 3 parts paper pulp, 2 parts portland cement and 1 part perlite and other optional fillers. Getting the paperpulp made to the right consistency is key. Too wet and the mixture is slumpy and if too dry – crumbly. Make small batches to experiment and get your mixture to your liking.
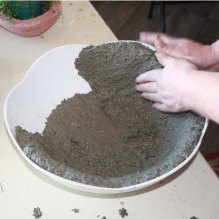
Hand application of papercrete in a dollar store scalloped edge salad bowl mold
To make containers you can use anything fairly smooth coated with a bit of vegetable oil to allow easy release. Ideally, the container should be shaped in a somewhat tapering shape in such a way as to make the finished product easy to remove once dry. For an 18″ container the thickness of the papercrete should be about 3/4″. Just take handfulls of your mixture and hand form it and pat it to compact it into your mold of choice. Allow it to dry for 24 to 48 hours and remove from mold. Drainage hole can be made during by finger poking or after with a drill.
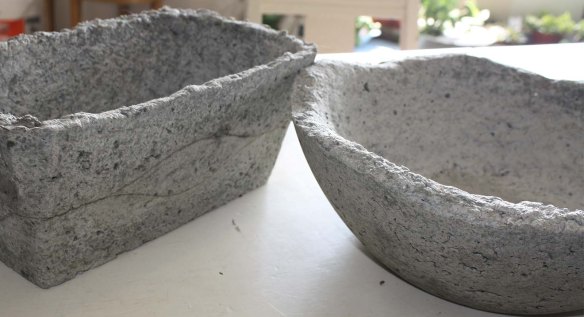
Newly released from their molds after 24 hours these containers were purposely made and left with rough top edges.
Papercrete can easily be sanded, drilled, and sawed after it is thoroughly dry. Cement dyes can be used to color it or thinned paint can be used to stain it afterwards. Adding a small amount of latex paint during mixing adds even more durability and resiliency to the end product and also acts to neutralize alkalinity. When can you use it. Right away!
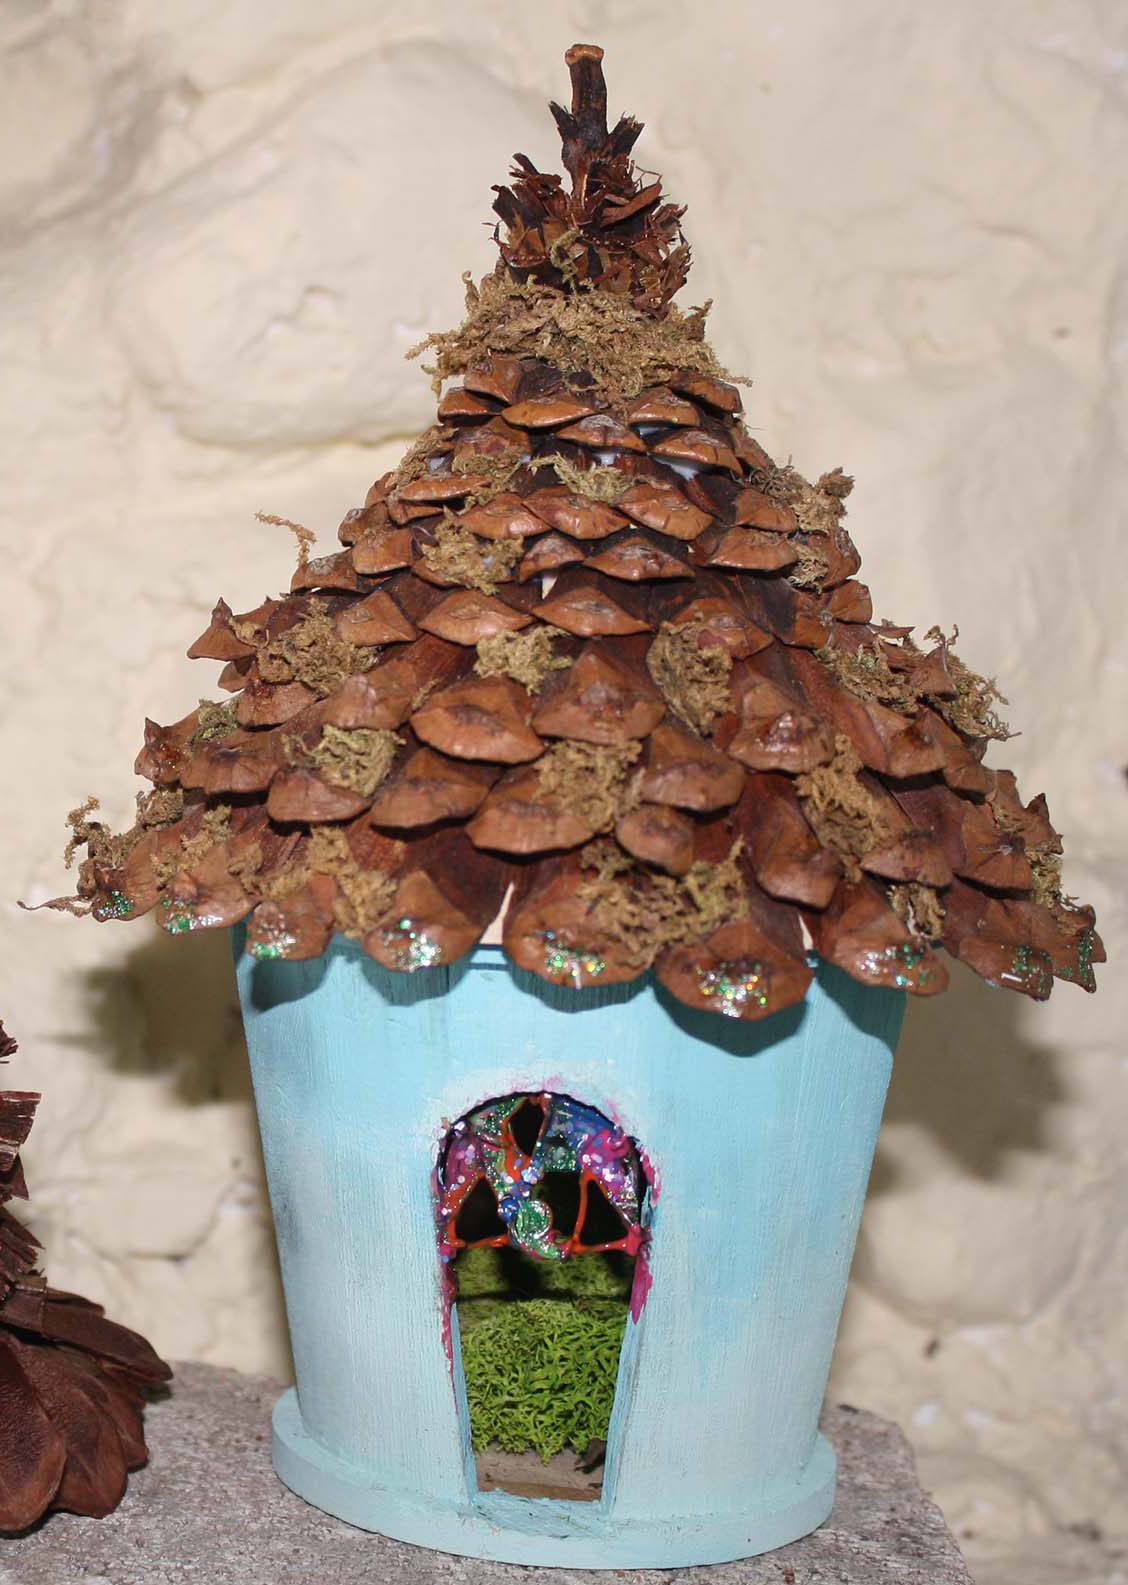
Papercrete can also be used to make fairy houses and in some places in the United States it is being used in large scale projects to build real houses!
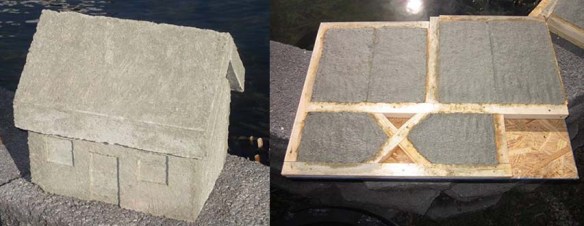
Papercrete miniature house and molds by Lee Coates
An experiment of my own using a one part mold for the house and a one part mold for the roof of a papercrete fairy house needs some refinement although the basic idea seems to work.
Papercrete miniature house newly released from one piece mold
In the final analysis, having played with both hypertufa and papercrete I find several advantages to papercrete. First it’s ‘greener’- I love the idea that it uses a resource that would otherwise be filling our landfills. It is also so clean and easy to work with , can be used right away, and appears to stand up well to freeze and thaw conditions. It’s versatile – it can be easily cut, drilled, sanded, colored , screwed and glued! What more could you want?
Many thanks to Lee Coates for introducing me to the wonderful world of papercrete and allowing me to use information and pictures from his blog.
Papercrete Pots by Lee Coates