Seasonal Fairy Gardens

Seasonal Fairy  Gardens Fall / Halloween

It’s that time of year here in ‘ the great white north’ when fairy gardening  moves inside to potted arrangements. It’s easy, fun and funky to decorate for the season with seasonal accessories and DIY items.

halloween-fairy-garden


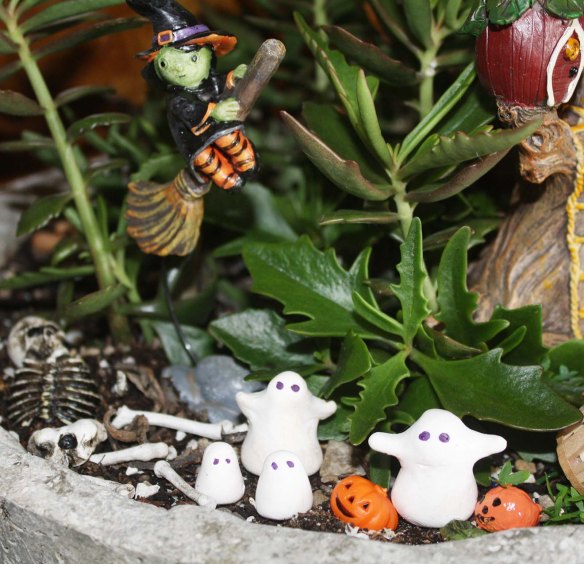
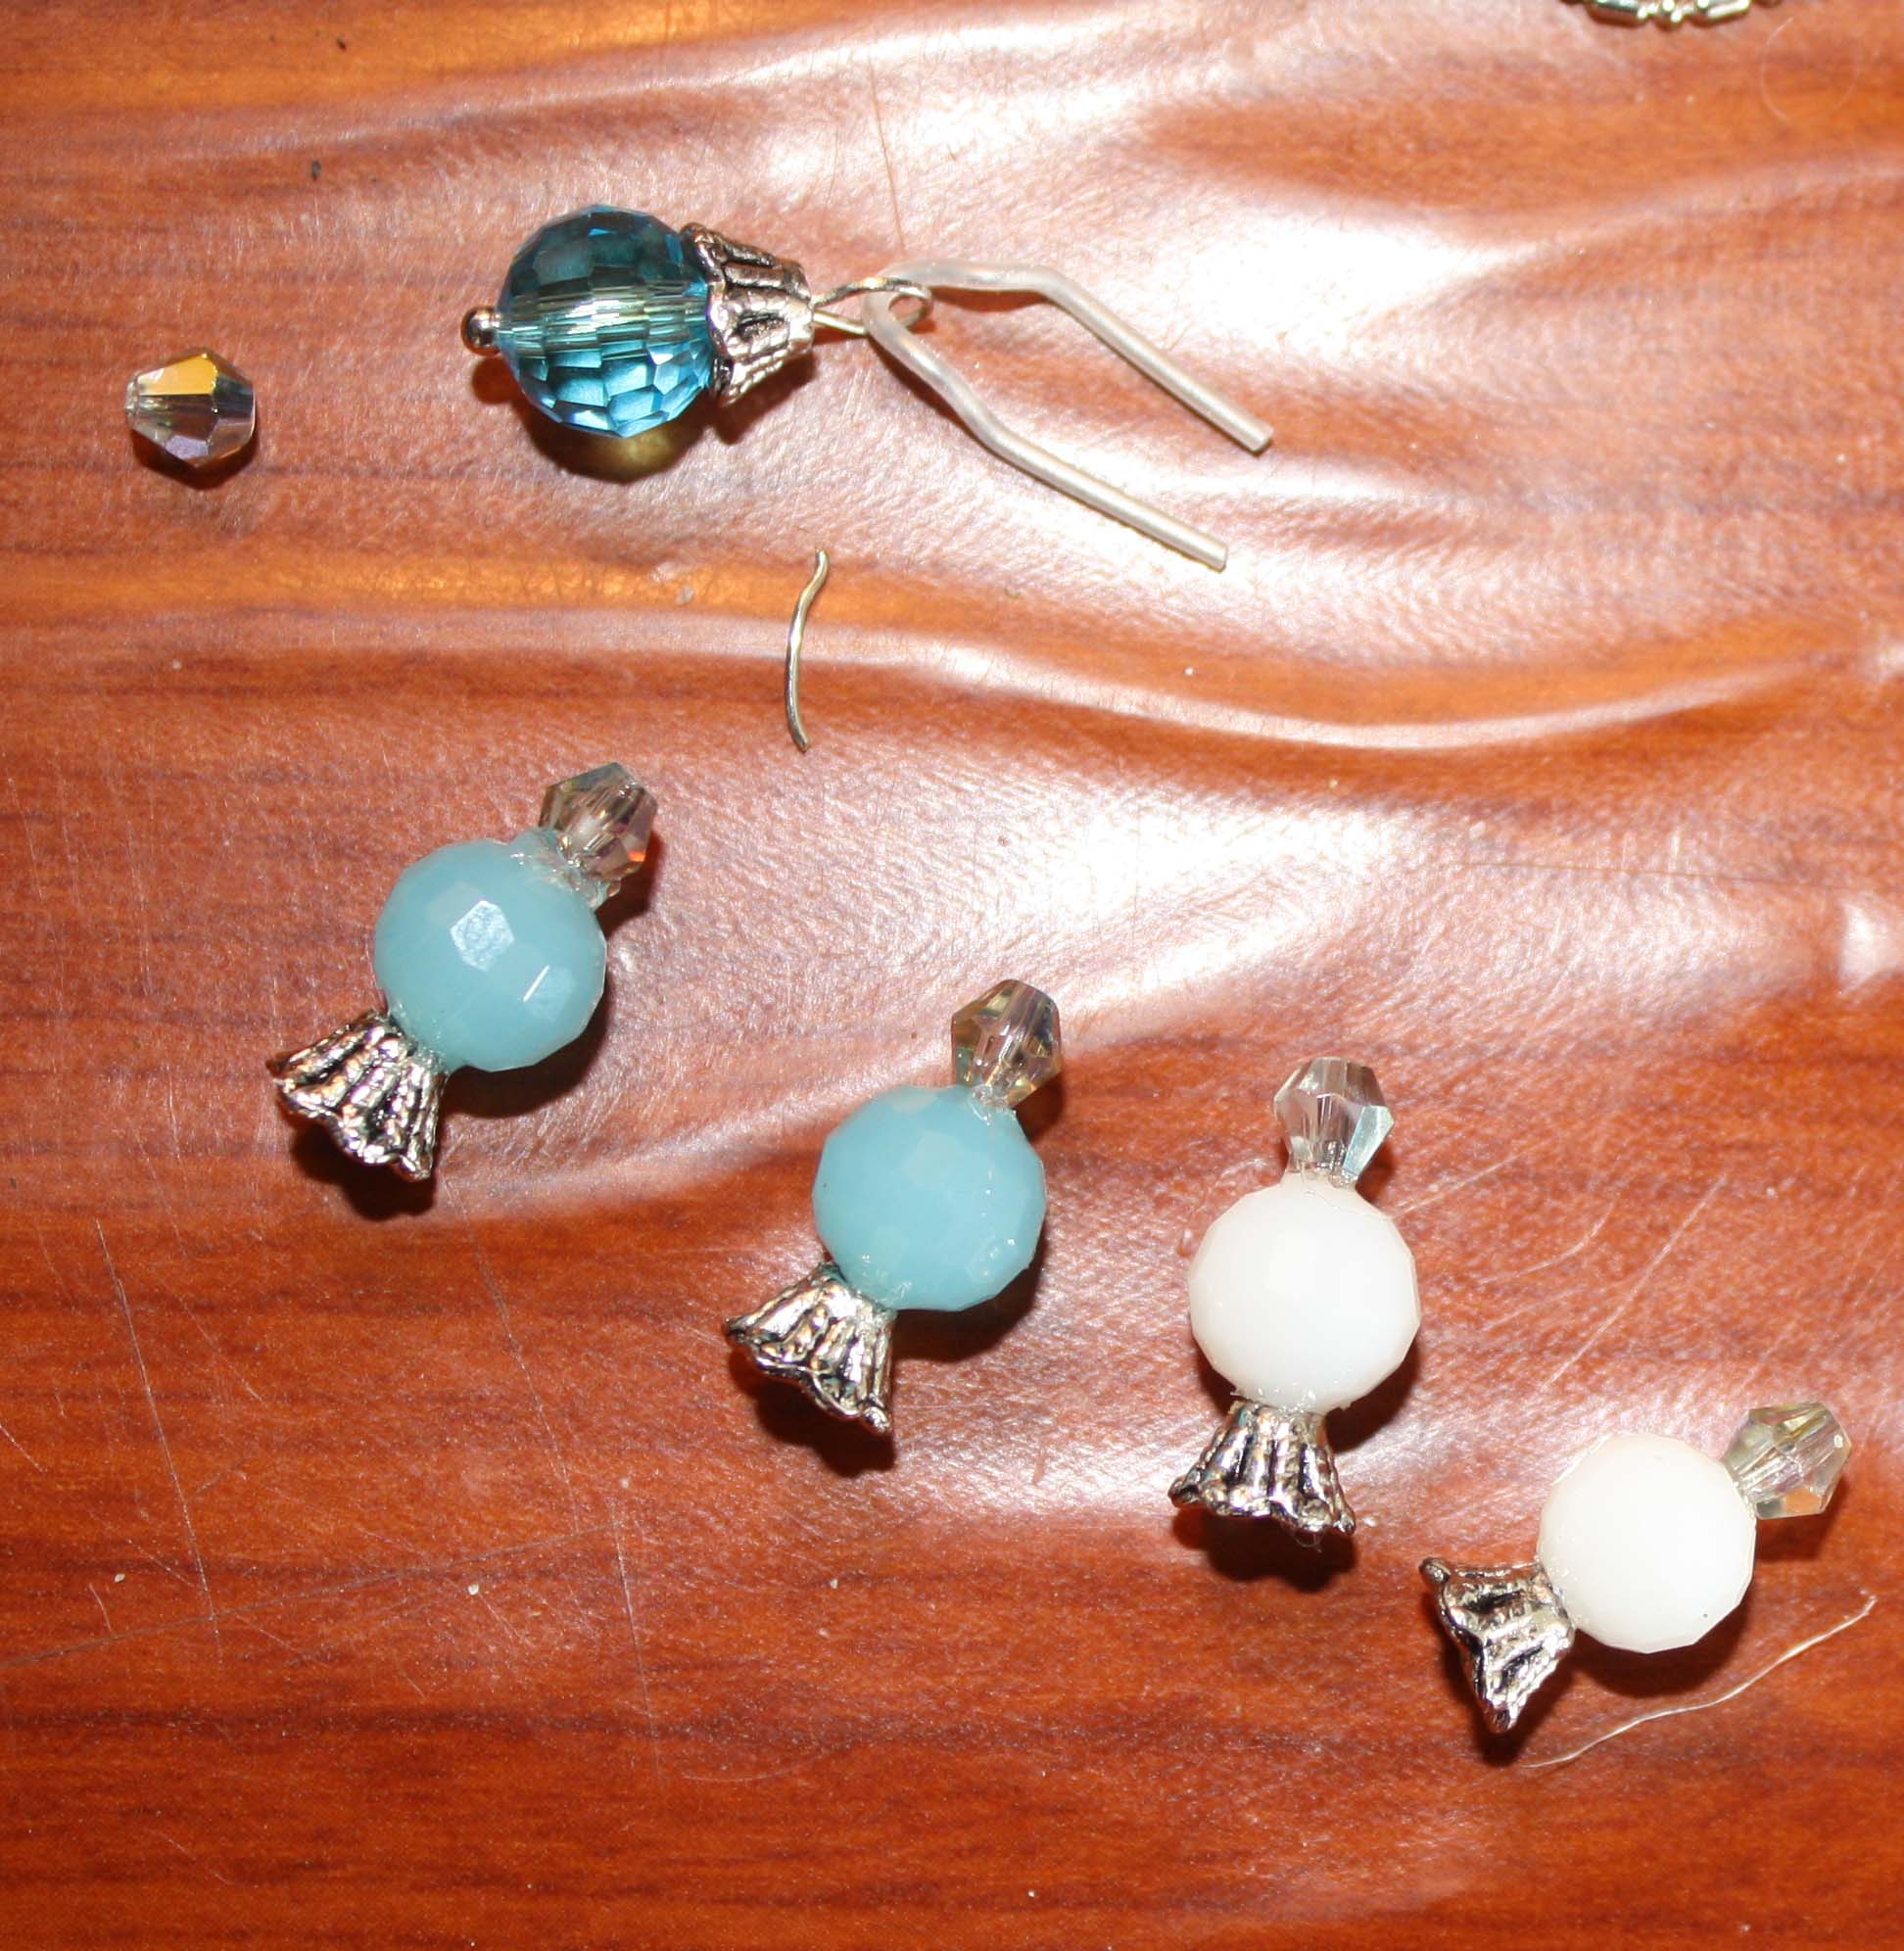
Using my favorite polymer shape-and-bake clay (Primo Sculpey) I cooked up a few ghostly friends for my display. Not into clay?  The tiny  jack-o-lantern with the green leaf ‘do’  is fashioned  from a small rock,  a bit of craft paint and a pinch of plastic greenery form a dollar store find. You could use small stones and rocks to paint up some ghostly friends as well. I use Outdoor Patio Paint by DecoArt to make my painted items impervious to water for my planter gardens.

Tiny jack–o -lanterns from the store are displayed as a group with faces turned to the back to make my little pumpkin patch. Other items – the witch on a broom stick, the skeletal remains and the Acorn Tree House are also items available online in the store (fairygarden.ca).

fall-fairy-garden

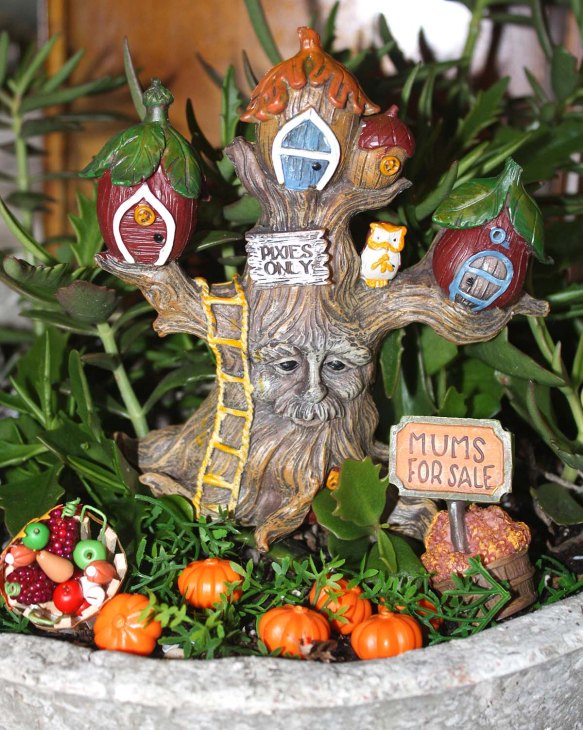
Even if you are not into spooky – a nice harvest themed display without the scary stuff is great too! Perhaps as a center piece for your Thanksgiving dinner. Wow.

Fairy Garden Shabby Chandalier

Fish Hook Chandelier

Fish Hook Chandelier

Inspired by an image on Pinterest of a miniature chandelier made out of a fish hook I gathered up some supplies and decided to give it a go.

First off – who knew fish hooks came in such an array of sizes. I decided to buy several sizes but settled on one about 1 1/2″ high for my experiment.

Step one -squeeze those nasty little barbs on the fish hooks until they are good and flat ( pliers) and nip the pointy ends from the hooks with a a little wire cutter.

gathered-supplies -fish-hook-chandalier  I picked up some clear seed beads and some larger clear beads as well as some even larger colorful beads. For the larger beads I looked for ones with a bead cap that could be used as a candle drip catcher.  reconfigure -beads      Step Two – I pre-assembled a few items. The largest bead was dismantled, reassembled and embellished with a small clear teardrop bead to form the part that would attach to the top of each hook and eventually hold the candle.  The hole in the tear drop bead fit over the hook a little making that part easy to glue. get-some-peieces-ready

A few strands of beading wire with curled ends were used to make the three pieces that would attach to the middle of the fish hook where beads would later hang. More beading wire pieces with a tear drop and several seed beads were made ready for hanging as well.

Step 3 – Assemble. Easier said than done 🙂 I painted the fish hook first. Much of the paint rubbed off during the assembly – and I’m going with the “I meant to do that story” and calling it shabby chic!

I started in the middle with the three pieces of twisted wire with curls at the ends, poisitioning them evenly around the middle post as best I could. Then I twisted a bit of wire around the bottom and top of the group.  I pulled and poked and eventually shaped the twisted wire into a shape I found pleasing and that would allow me to hang beads out away from the post, and then tightened the wire I had placed at the  top and bottom.

making-the-candlesAfter the bead chains were hung and the larger beads glued to the hooks it was time to make the candles.

Premo translucent clay was used  for making the candles. I just rolled out a thin snake, cut a few little pieces, poked a tiny bit of wire in the end and popped them in the toaster oven. Glue.

Fussy but fun. Keep crafting and, as always, have a fairy good time. Marthe

Moss in the Fairy Garden ( for beginners)

moss-garden-kyoto-japanI think the moss garden in Kyoto Japan is probably one of the most beautiful places on earth. Someday I hope I to visit …but for now I have contented myself by building a little moss garden of my very own. A fairy moss garden of course.

First I needed to learn a little about moss and how to care for it properly. What a delight it was to find that it so easy to nurture.

moss-outdoors-on-rockI discovered that moss is not like other plants. It does not have roots or a what is called a vascular system which other plants need to gather nutrients and moisture. Instead it absorbs everything it needs through its leaves. Indoor or out it never requires fertilizer, pesticides or herbicides. Out doors and in terrariums, once established, it doesn’t even require watering! In a planter indoors misting regularly is recommended to keep it nice and colorful.

The main requirements for moss to be happy are: to place the moss firmly upon its substrate or host – it does not like air under it;  plant moss  in shady areas outdoors and indoors place it where it does not receive direct sunlight – a few hours of morning light is all it needs; make sure it has good drainage – moss does not like to be kept wet. And that seems to be just about it. As it is not the first two seeks of August, it is still winter here in Canada :), and so I am going to make my DIY moss gardens indoor ones. To start ..being the seriously tiny lover that I am I just had make a little micro moss terrarium with the tiniest gravel ever and a bit of colored sand.

tiny-glass-teapot-with-sand-and-moss

For a more thorough moss education and some other optional suggestions for moss terrariums I found this article from the Eugene Daily News very helpful.

As always, have a fairy good time!